Don’t Go Under: A Used Gear Guide for Rafting
Rafting equipment doesn’t come cheap – trust us, we know. So it’s only natural to want to save a buck or two by purchasing your neighbor’s old gear, especially since he’ll take payments and a case of cheap beer for interest. We’re totally not against you buying used gear, but you need to know what you’re getting yourself into before you fork over the cash. You’re not saving any money if the raft gives up the ghost on the first set of rapids.
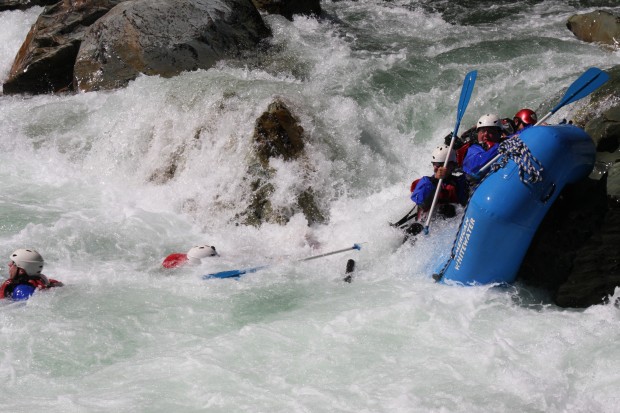
We get it – your neighbor’s a good friend, and he would never lie to you about the condition of the raft. Inspect every inch of it anyway, preferably while the raft is inflated. If you can inspect it in the water, even better! Remember, your neighbor probably won’t be along for the ride when the thing goes bottoms up over Hospital Bar.
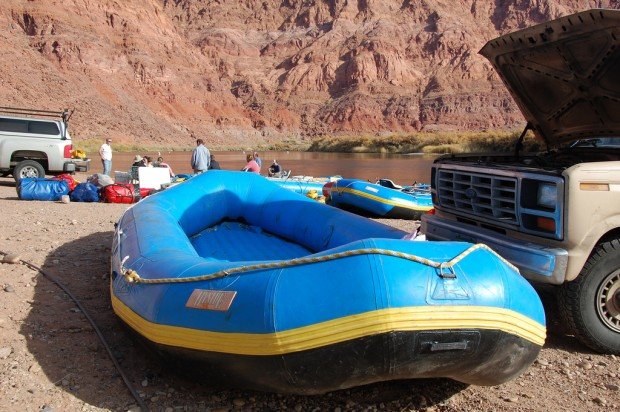
Patches, while not a deal breaker, indicate the raft has been punctured at some point in time. The fewer the patches, the better the raft. Look for signs that a professional, or at least a novice with a steady hand, handled the patch job. The edges of a patch shouldn’t pull away from the raft and the presence of duct tape is an automatic red flag – and a definite deal breaker!
The hardware is important, too. Check all the D rings, oarlocks, and other hard parts to make sure that they’re firmly attached to the raft. This isn’t a deal breaker, though, since they can always be glued on later. This should help to give you some wiggle room with the pricing.
A fully inflated raft should be smooth with no cracks or wrinkles in the rubber. Rough spots indicate a preview of coming cracks, so stay away from those, too. Don’t forget to check the bottom of the raft for wear and tear. Out of sight does not automatically equal out of mind!
Bring along a spray bottle with some soapy water inside and spray the inflated raft down completely. If any pinhole leaks are present, the air will form a foamy bubble at the spot of the hole. Pay special attention to the seams. Older rafts have glued seams and glue has a way of turning to dust over time. A leaky seam can also be a real pain to repair.
Once you’ve checked for leaks, begin letting the air out of each chamber individually to see if the internal baffle holds. The air should not leak into other chambers. Check oars for strength and durability. Look for cracks, breaks, or bends in the handles. Oars aren’t notoriously expensive, so you may be better off buying them new.
Finally, don’t ever – as in, never ever! – buy a used personal flotation device or lifejacket. You don’t know where it’s been or how it’s been stored. It’s not worth risking your life to save a few bucks.
Even the most careful inspection can be faulted. But if your neighbor’s raft – or any other used one — passes muster, then by all means, give him the beer and a nice down payment. However, it might be a good idea to take your “new” toy for a nice test float before taking it down Tunnel Chute Rapids!